Is your Peace Lily (Spathiphyllum) drowning and drooping? I’ve been there—my once-perky plant turned into a sad slump. The good news?
Peace Lilies can recover from overwatering with quick action: dry the soil, trim damaged roots, and repot in a well-draining mix. As one of the most popular low-maintenance houseplants, they’re forgiving if you act fast.
In this guide, I’ll walk you through spotting the signs, fixing the damage, and preventing a repeat. Let’s rescue your peace lily together!
Signs of an Overwatered Peace Lily
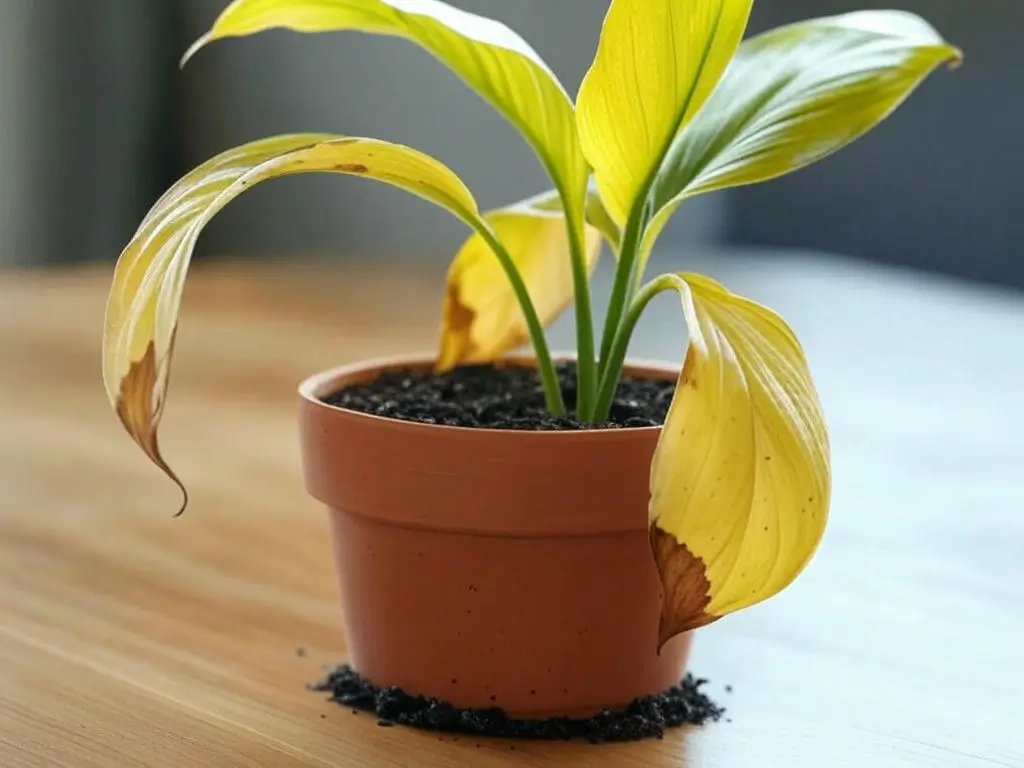
An overwatered Peace Lily shows yellow leaves, root rot, and wilting. Here’s how to spot it.
- Yellowing Leaves: Too much water fades chlorophyll, not just in old leaves.
- Brown Leaf Tips: Soggy soil causes mineral buildup, scorching the edges (learned that after one drenched weekend).
- Wilting Leaves (Despite Wet Soil): Drooping while the soil is damp means roots are struggling to absorb water.
- Root Rot: Black, mushy roots signal a fungal attack from overwatering.
- Fungal Growth: White fuzz or mold thrives in consistently wet soil—act fast.
- Soggy, Musty Soil: Stays wet for days and smells rotten, signaling poor drainage.
How Overwatering Damages Peace Lilies
Overwatering suffocates peace lily roots, starving them of oxygen and nutrients (Royal Horticultural Society). It paves the way for fungal invaders like root rot, leaches out essentials like nitrogen, and pushes the plant to the brink if ignored.
Root Rot: A Serious Threat to Your Peace Lily
Root rot can kill your overwatered Peace Lily. It’s not just wet roots; it’s a breakdown of the plant’s health. Understanding root rot helps you save your plant.
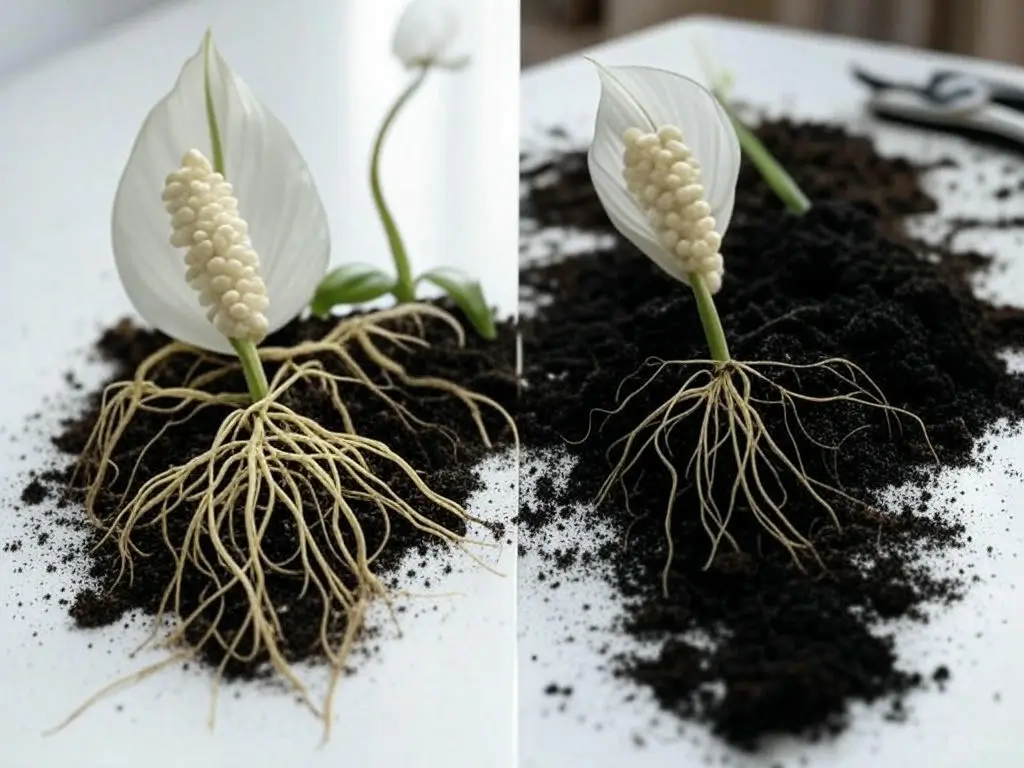
- How It Starts: Constantly wet soil cuts off oxygen, letting fungi feast on roots.
- The Smell: A musty, rotting stench—like old, wet dirt—is a red flag.
- The Texture: Healthy roots are white and firm; rotten ones are black, mushy, and slimy.
- How It Spreads: Rot races through roots and up the plant—delay, and it’s game over.
- Visuals: Dark, stringy roots look nothing like healthy, white ones.
Spot these signs, and you’re ready to fight back. Keep reading for the fix!
How to Fix Overwatered Peace Lily
Stop Watering
Stop watering your Peace Lily right away if it’s overwatered. That’s the first step to give it a fighting chance. Dump any water pooling in the saucer—leaving it keep the soil soggy.
Dry Out the Soil
Move your Peace Lily to a breezy spot (think open window) to speed drying. You can also use a small fan or a dehumidifier if the air’s too humid—just don’t let it sit in wet soil too long.
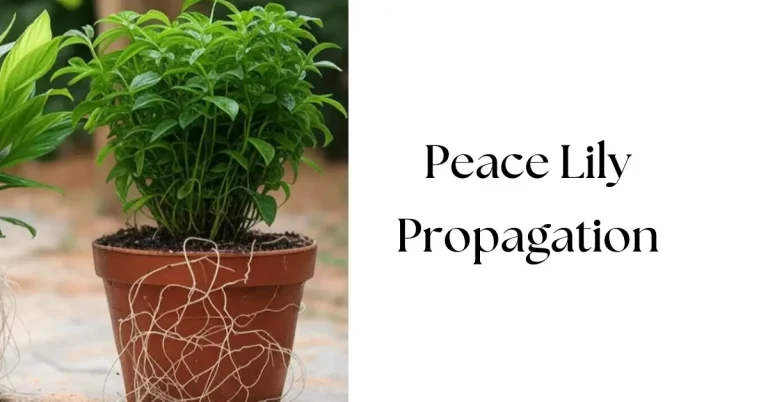
Repotting
Repotting is a must if root rot has set in. You’ll need a fresh, well-draining potting mix—something with perlite or orchid bark works great.
Gently lift your peace lily (I once saved mine by this way), shake off the old soil, and place it in a new pot with drainage holes.
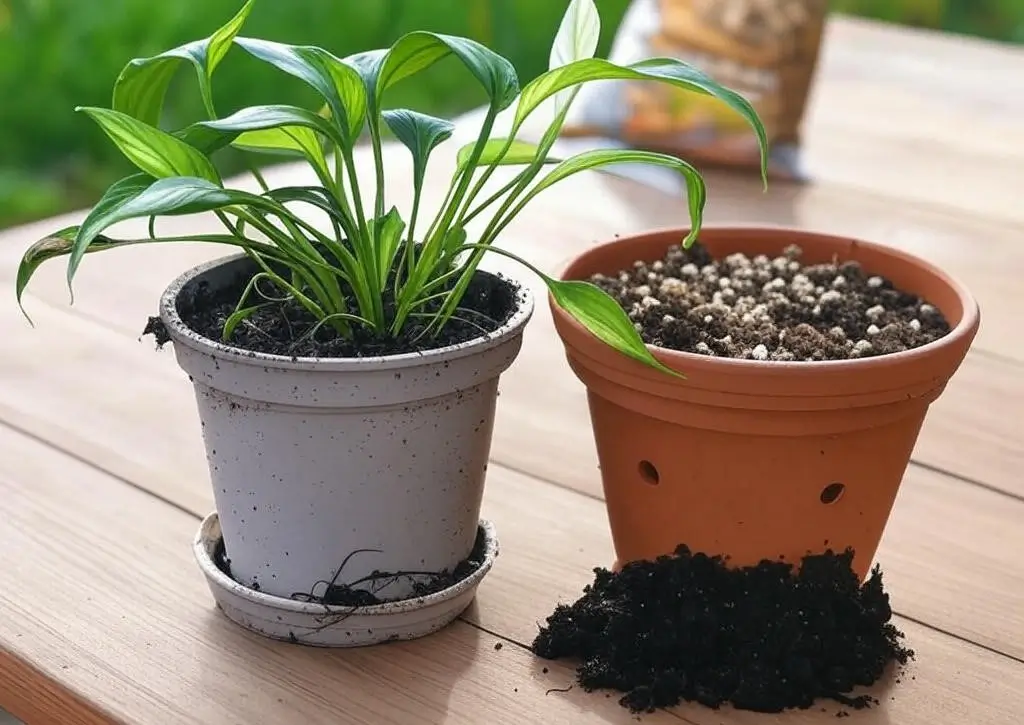
How to Prepare a New Pot
Choose a pot with bottom holes and fill it with your new mix. Make sure it’s not too big—Peace Lilies like cozy roots. Fill with fresh mix and water lightly to settle it—no soaking.
Root Trimming
Trimming damaged roots can bring your Peace Lily back to life. Look for black, mushy roots—these are rotten—and cut them off with clean, sterilized scissors or shears. Healthy roots are white and firm, so leave those alone.
How to Properly Trim Roots
Sterilize your tools with rubbing alcohol first to avoid spreading germs. Carefully snip away the rot, cutting just above the mushy bits. This helps your peace lily focus energy on the good roots.
Fungicide Application
For severe rot or fungal growth, use a copper-based fungicide (Missouri Botanical Garden). Mix as directed, then soak trimmed roots for 10 minutes before repotting.
Only use fungicides if rot’s bad—don’t overdo it on a healthy plant. Follow the label and wear gloves to keep it safe. It’s like medicine for your Peace Lily, so use it wisely.
Improving Drainage
Add perlite or bark to your mix and switch to terracotta—it dries faster than plastic. Ensure plenty of drainage holes to stop water from pooling.
Monitoring Recovery
New growth is a sign your Peace Lily is recovering. Watch for fresh green leaves or blooms—it might take a few weeks. Water when the top inch dries out, and fertilize lightly (10-10-10) after a month.
Prevention: Proper Peace Lily Care
Watering Practices
Water every 5-7 days when the top inch dries out—less in winter. Use the finger test: if it’s dry, water until it drains, then stop. A moisture meter works too.
Soil Selection
Choose a well-draining potting mix for your Peace Lily. A blend of peat, perlite, and pine bark works best—avoid heavy soils that trap water like a sponge. This is key for low-maintenance houseplants like the Peace Lily, which thrive with minimal care.
Drainage
Start with a pot that has holes. Skip the gravel layer (experts say it’s overrated)—just keep those holes clear.
Humidity Levels
Peace Lilies love humidity—aim for 40-60% in your home. A humidifier or pebble tray (pot above water) mimics their tropical vibe without overwatering.
Air Circulation
Place your Peace Lily near gentle airflow (like a low fan), but avoid drafts. Stagnant air invites mold, so give it some breathing room.
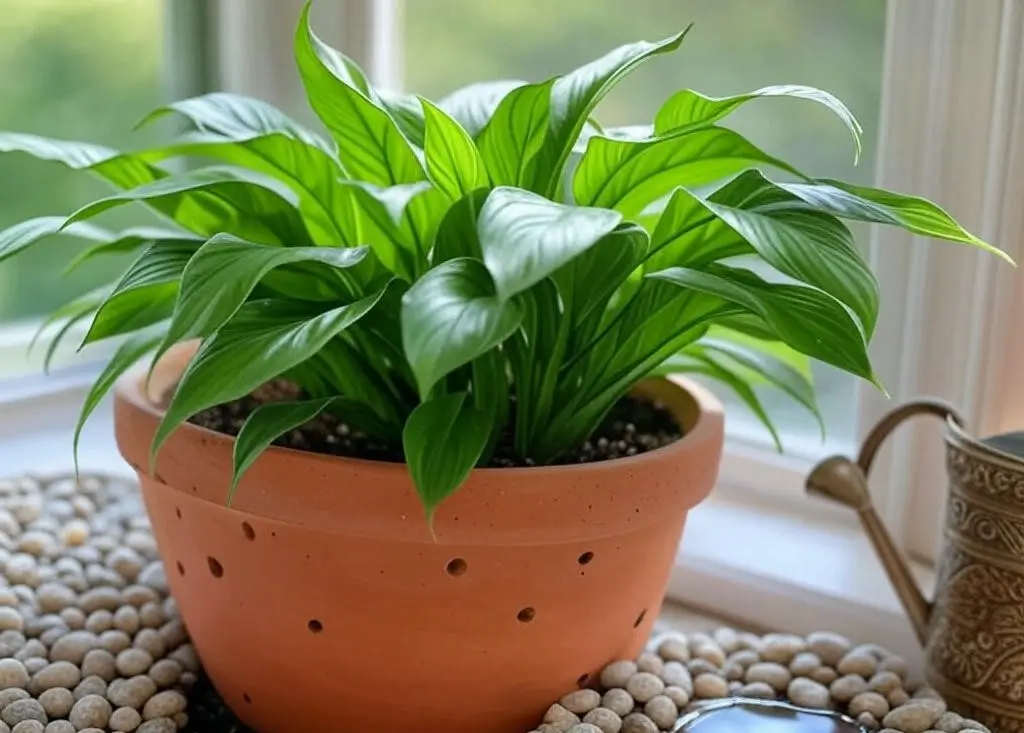
Proper Pot Selection
Terracotta pots are great for Peace Lilies. They dry soil naturally. Pick a pot that’s just big enough for the roots—too much space holds extra water. It’s a simple fix that makes a big difference.
Post-Recovery Tips for Peace Lily
- Fertilize lightly (10-10-10) after new growth.
- Check for pests like spider mites—neem oil’s your fix.
- If it’s beyond saving, seal it in a bag, not compost.
Helpful Tools
- Moisture meter (checks dryness).
- Draining mix (peat, perlite, bark).
- Terracotta pot with holes.
- Copper fungicide (for rot).
- Sterilized shears (sharp cuts).
FAQs About Overwatered Peace Lily
How Often Should I Water My Peace Lily?
Water your Peace Lily when the top inch is dry—every 5-7 days.
What Type of Soil Is Best for Peace Lilies?
The best soil for Peace Lilies is peat, perlite, and bark mix.
How Do I Know If My Peace Lily Has Root Rot?
Root rot shows as black, mushy roots and a bad smell. Pull the plant out gently—if the roots crumble or look slimy, that’s it. Yellow leaves and wilting are clues too.
Can I Use Tap Water for My Peace Lily?
You can use tap water for Peace Lily, but let it sit out overnight first. This lets chlorine evaporate—Peace Lilies don’t like it. Filtered water works too if your tap’s hard.
How Do I Improve Drainage in My Peace Lily Pot?
Improve drainage with a pot that has holes and a well-draining mix. Add perlite or gravel to the soil, and use terracotta instead of plastic. It’s an easy fix to stop water buildup.
Conclusion
Fixing an overwatered Peace Lily with root rot is simple with these steps: dry the soil, trim rot, and repot in fresh, draining mix. With a little care, your plant will bounce back lush and thriving.
Check your Peace Lily today—those green leaves are counting on you!
Got questions or tips? Drop them below—I’d love to hear how your Peace Lily’s holding up!